Part 2 of the Weathervane – boy am I every happy with how it all turned out!
It is not often that I can say that I like I piece when I’m finished. Oh, its alright I’m sure and I can imagine that there are few that would be able to see the flaws…but I can see them. They stand out like neon stripes on a black background and it is all I can see!
This one though, for what ever reason, I could see past them and for the first time I can honestly say that I am proud of what I made. Is it perfect? Nope! For one, I am a terrible welder and there really wasn’t a practical way to attach these small elements without the use of my trusty metal glue-gun (solid core MIG welder). But, as the saying goes “A grinder and paint makes me the welder I aint!”.


Each of the arms was done free-hand. I had thought about making up a jig of some sort for the scrolls, but it would have taken longer to make it than to do up the four of them. I did however make the first and use it as a template for the others! I think that all in all they each came out similar enough to be coherent, but unique enough to know that it wasn’t machine made. Again, are they perfect? Nope! Somehow that is OK though!
The spinning bit took some time to figure out. I wanted to ensure that the arrow and unicorn would be able to be as free as possible for as long as possible, so I moved away from the traditional design of a hardened pivot point in a receiver of some sort and went for two of the tiniest sealed ball bearings I could find. Again…I need to take more pictures! Regardless, I machined in two races top and bottom on the vertical post and pressure fit them in place. Given there isn’t going to be any force on the part, I didn’t feel the need to mechanical fix them in place. On the base, I machined out a plug for the bottom and a bushing for the top of the vertical pipe. The bottom plug was drilled out to receive a mild steel rod the correct diameter to fit into the bearings (3/16″) and the bushing was there to add some rigidity to the system. Again, given that this wasn’t going to be seeing any meaningful load, I simply press fit the rod in place as this is the first thing that is going to get damaged by an errant soccer ball!
Finally, after assembling I decided to go with an outdoor matte rust paint rather than a traditional oil/beeswax finish. I wanted this to be as low-maintenance as possible while being able to withstand the elements. Ultimately, I think I may have made the wrong call. I couldn’t find a rattle-can in matte, so opted for brush application. It was such a thick paint that the brush strokes were fairly evident on the flat surfaces…not as awesome as I would have liked! Perhaps once the paint has worn off and the rust started in, I will take it back to the shop and give it the more traditional finish. Who knows?!
And here it is in all it’s glory!


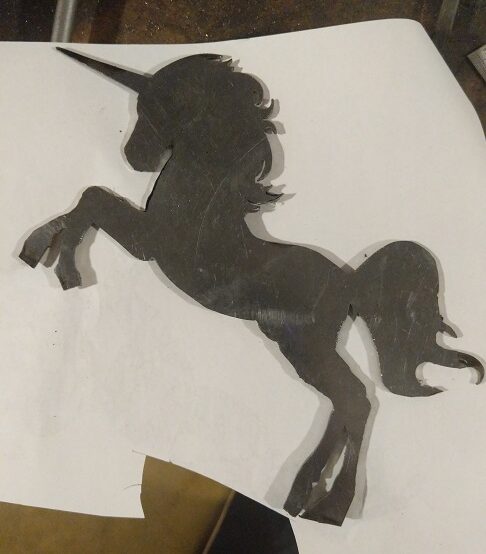
I love it!! It works perfectly with the playhouse and I think the proportions are right on. Will I make another one? Totally! Just let me know what you want it all to look like. Will I hand-cut an intricate little unicorn out of mild steel sheet? Hell. No.
Remember; just because you don’t know how to do something at the outset, it doesn’t mean you can’t sort it out!